
The part did arrive on the Monday after the weekend, and it even resolved the extruder temperature issue. Meaning the printer was theoretically functional.
With the deadline departed and having had some mobility issues, the printer stood on the workbench for a week or so. But i did eventually power it up and start looking into it again.
Summary
I was able to get it to print. i was able to produce a full model.
I did look up a number of 'issues' as they arose on google and found multiple folk mentioning the same issues. This is encouraging as it's not just me, and sometimes there are solutions to the issues.
As per Part 1 i have a feeling that my previous printer spoiled me in regards to the user experience. As limited as it was in certain aspects it really was damn easy to use and produced easy/consistent results with minimal effort.
My experiences so far with the new printer have been 'much more work to get lower quality results'.
That said i really have only put in a few hours effort into actual printing so i'm hoping that a little more knowledge and experience will resolve a lot of my 'problems'.
So from the top...
After getting the extruder to heat up, getting PLA to feed in and melt, and start pumping out filament, i attempted a simple model.
This was my first print job. It's one of my standard 2D cookie cutter infantry and despite it's ugliness it actually turned out ok.

Technically this was my first print job but the results were far more... 'modern art'.

Next i thought it would be fun to go for some deja vu and print a 6mm marine...

The stock software is, well, totally underwhelming, especially since i know that the up! software can produce a result with 0 effort.

That said, it is nice to know that the software wasn't lying about what it was going to produce.

I also ran some larger models through the slicer with similarly rubbish results. perhaps for full size teacups it might produce something worthwhile but for 6mm scale items it's not really making the grade. i will investigate it further as it's entirely possible i just had this or that setting wrong. But in the mean time...
I downloaded the Cura software which i'd used briefly in the past and had a look to see if i could run the printer directly off this instead. Turns out i couldn't link sufficiently to the hardware but i COULD produce a gcode file with lots of tasty detail.
The stock software WAS able to load the gcode and basically recognise what it was meant to do with it.
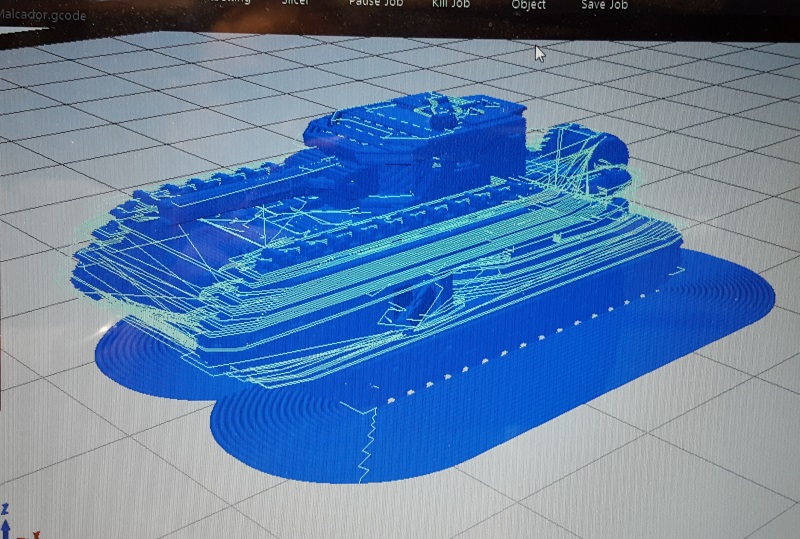
So i started the print job and watched with eager anticipation.

This is attempt one. i noticed (from the 'raft') that the bed wasn't level, with the left-end raft being thicker than the right-end raft (just a smear). Resolved by better bed levelling after this job.

The print ended up not printing anyway. It got to this stage and stopped.

Basically the machine just stopped printing (didn't switch off, by just kinda stopped). It had stopped at the 20 minute mark and i figured it might be loading some more gcode to print (still might be the case) but at 40 minutes it stopped and never continued, which had the annoying result of leaving the still-hot extruded head against the print job which ruined it by creating a blob of melty plastic.
From memory this print job was at 0.1 z-resolution which wasn't required. The print head seemed to be shuffling/dragging through the previous layers rather than smoothly adding new plastic.
so i stopped everything. re-cura'd the file at 0.2 z-resolution, added support material and started it up again. Reducing from 0.1 to 0.2 cut the print time by about half.
There was a print pause, and i think i was able to move the print head away from the model and it then restarted.
Research suggested that either usb and data could be the issue or possible the pcb was over heating. So i pointed my bench fan at the pcb for the time being. Not sure if this helped but there were no subsequent pauses.
The pause did create a bit of a plastic lump at the 'back' of the model. So i (manually) paused the job and used a knife to level it down. Restarting the job worked just fine. Shibi!!


Initial Thoughts
I'm glad to have got a result. It's at the top end of effort i'd put into such a project. I'm happy to put in some more effort to learn the setup better, provided i get consistent and usable results. Setbacks and technical frustrations are not going to progress the project and result in binning.
I would like to finish off my 'small scale' projects; BFG and some Epic stuff but i'm certainly aware that this type of printer is better suited to larger objects. As the plastic that came with the printer is almost gone (a very token offering) i need to order a spool of PLA, so i have some time to tweak settings and play with the software a bit more.
PLA
This was my first time running PLA, and it has been ok so far.
Not sure if i want to be using my left over ABS. On a simplistic level it's just a matter of cranking the extruder temperature up a bit... wait and see i guess.
Until next time...
A Wee Update [2018-03-01]
Ordered some PLA but that will be a day or two arriving. So i still had a few loops of blue left.
Gcoded some more models, loaded them onto the SD card and plugged it in. 'Run from SD card' feature seems to work fine. Also seems to eliminate the lcd flashing effect. however, i was also running the fan on the pcb so that's not 100% conclusive.
Also didn't seem to stop during the job so if this really does solve the issues then its a good alternative. possibly removes the 'pause job' advantage though.... oh well.


The marine was ok to shuck off the sprue; my knife was fairly blunt but PLA does seem a little more 'chewy' than ABS (brittle and snaps with the first hint of unwarranted pressure).
the 'raft' from the software is also markedly different. on this it's a very thin, token-smear whereas on my up!mini it was a very substantial construct.
this one kind of runs 6mm of concentric circles around the 'build space' which i think it actually needs to get a bond to the plate; takes about two loops around the model before it manages the first adhesive smear of filament. i don't hate it, and it works. just different.
The hydra was ok, again very thin 'raft' so i chopped off some underneath treads accidentally (read "they were very undefined and i couldn't tell it was part of the model"). the twin guns on top were totally undefined, basically there were parallel 'walls which i just kinda carved into shape, very ugly, but works as a proxy. i was considering printing these unsupported as the 'support inclusion' is what's adding to the issue. will try some variations and see what works.
And there we have it. more experimentation just as planned. More to come.
i will be experimenting with slic3r software to see if that provides any advantages. Am very keen to be running my software slicing AND hardware control from the same package if i'm running 'online' jobs.
Until next time...


